Warehouse Label Generator - Create Bulk Bin and Shelf Labels
Make bulk warehouse bin, shelf, and rack labels from a spreadsheet. Map your SKUs and locations onto a label template and download every label as a ZIP. Free to try.
Perfect for: Warehouse managers, inventory coordinators, logistics teams, small manufacturers
Key Benefits
- Generate labels for every bin, shelf, and location
- Import SKUs and locations from your inventory spreadsheet
- Consistent, readable labels for the entire warehouse
- Print-ready for label printers or sheets
Create Organized Warehouse Labels from Your Inventory Data
A well-labelled warehouse reduces picking errors and speeds up operations. With Batchr, you generate consistent labels for every bin, shelf, and location from your inventory spreadsheet — one label per row, all in one batch.
Start from a working example
You do not have to design anything to see how this works:
- Download the sample label template (PNG, 1200 × 600 at 300 DPI) — a blank 4″ × 2″ bin label with the header block already drawn
- Download the sample inventory CSV — ten rows with
LOCATION,BIN,SKU,DESCRIPTION, andFILENAMEcolumns
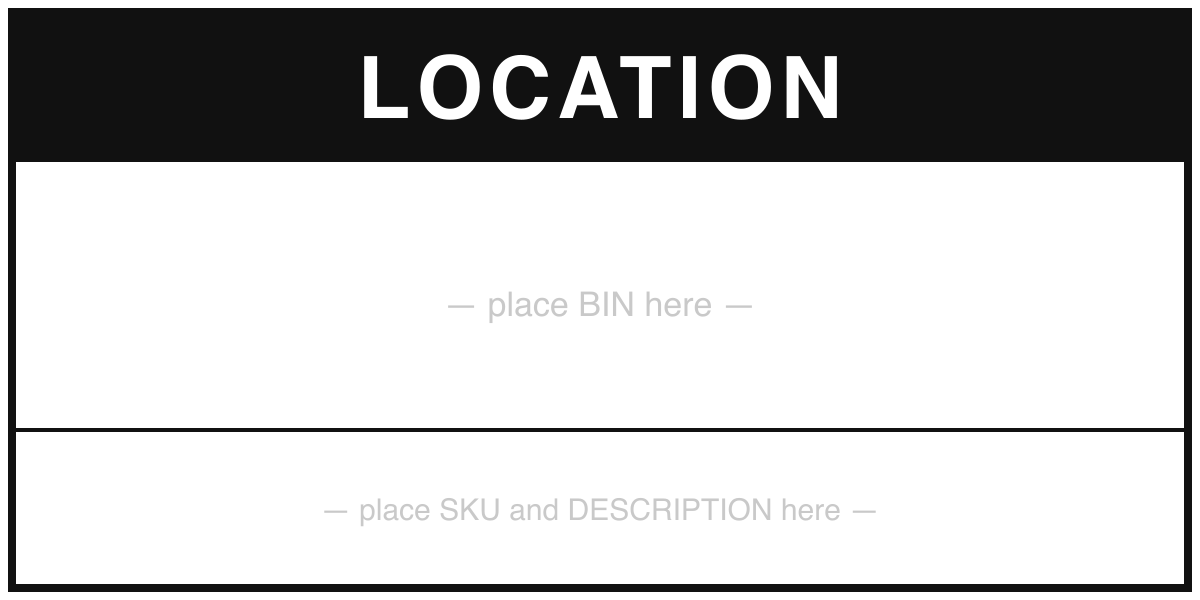
The CSV opens directly in Excel, Google Sheets, or Numbers — save it back as CSV when you have swapped in your own inventory. Upload both files to the generator, drag each column onto the template where it belongs, and download the ZIP. The free trial produces the first three labels so you can check the sizing before you buy anything.
Who needs warehouse labels?
- Warehouse managers: bin and shelf location labels for organized picking
- Small manufacturers: parts bins labelled with SKU and description
- E-commerce fulfilment: storage location labels for pick-and-pack
- Retail stockrooms: organized back-of-store labelling
- Self-storage and workshops: rack, shelf, and drawer identification
Label sizes that actually fit your printer
Design your template at 300 DPI at the finished physical size. The pixel dimensions below are what you want your template PNG to be:
| Label | Physical size | Template size at 300 DPI | Typical use |
|---|---|---|---|
| Small bin | 2″ × 1″ | 600 × 300 px | Small parts drawers, tote fronts |
| Standard bin | 4″ × 2″ | 1200 × 600 px | Shelf and bin fronts — the sample above |
| Large location | 4″ × 3″ | 1200 × 900 px | Aisle ends, rack uprights |
| Thermal shipping stock | 4″ × 6″ | 1200 × 1800 px | Pallet and cage labels |
| Avery 5163 sheet | 4″ × 2″ | 1200 × 600 px | 10 per sheet on a laser printer |
If you are printing to a Zebra, Brother, or Dymo thermal printer, match the template to the stock loaded in the printer and print at 100% scale with no "fit to page" — that setting is the single most common cause of labels coming out slightly too small.
Build your location codes in the spreadsheet, not by hand
Most warehouses use a positional scheme: aisle, bay, level, sometimes position. A-01-01 reads as
aisle A, bay 01, level 01. Generate the whole set in Excel rather than typing them:
=CHAR(64+aisle) & "-" & TEXT(bay,"00") & "-" & TEXT(level,"00")
Then fill down. A 6-aisle warehouse with 20 bays and 4 levels is 480 locations — 480 rows, one batch, about a minute of generation. A few conventions worth adopting before you print several hundred labels:
- Pad your numbers.
A-01-01sorts correctly in every system;A-1-1does not. - Keep the location code the largest element on the label. A picker reads it from the aisle, not from arm's length.
- Put the SKU and description underneath, smaller. They confirm the pick; they do not guide it.
- Use the
FILENAMEcolumn. Batchr names each output file from any column you choose, soA0101.pnglands ready to reprint individually when one label gets damaged.
Reprints are the real time-saver
The first batch is not where this pays off — laying out 480 labels by hand is a one-off annoyance. The payoff is the reprint. When you re-slot the warehouse, add a bay, or peel a scuffed label off a frame, you change one row in the spreadsheet and regenerate. Because Batchr names files from your data, you can pull the single label you need out of the ZIP without hunting through 480 images.
Keep the CSV and the template PNG together in the same folder as your inventory master. That pair is your label system, and it is two files.
Printing and durability
- Laser on adhesive sheet stock is the cheapest route and fine for dry, indoor racking.
- Thermal transfer (not direct thermal) is what you want for anything that will be handled, since direct thermal fades under heat and abrasion within months.
- Laminate or use a label pouch for cold storage and anywhere pallets scrape past.
- Print one test sheet and hold it against the rack before committing 20 sheets. Check the code is readable from the far side of the aisle.
New to the tool? The getting started guide walks through the upload and mapping steps in order.
Cost
Dedicated label software runs on a subscription and usually locks you into one printer vendor's ecosystem. Batchr is $19 once, runs in the browser, outputs plain PNG or JPG files, and puts no limit on how many batches you generate or how often your rack layout changes.
Frequently Asked Questions
How do I create bin labels from my inventory spreadsheet?
Export your inventory locations as a CSV with columns for bin number, aisle, shelf, and product description. Design a label template, upload both to Batchr, map the fields, and generate all labels at once.
Can I include SKU numbers and product names?
Yes. Include any columns you need in your CSV — bin location, SKU, product name, category, quantity — and map each to your label template.
What size works for warehouse labels?
Common warehouse labels are 4 x 2 inches (1200 x 600 pixels at 300 DPI) for bin labels and 4 x 6 inches for pallet labels. Design your template at whatever size fits your shelving.
Can I regenerate labels when inventory moves?
Yes. Update your spreadsheet, re-upload, and generate fresh labels in seconds. Ideal for reorganizing warehouse layouts.